Upload Your FHIR Patients into Your OMOP CDM Database
The PopulateOmopInstanceFromFhirFiles tool can be used to populate an OMOP instance from a set of files representing FHIR patients. This tool is configured in the app.properties file. This tool will scan a root directory. Each directory in the root directory represents a patient. All of the files in that directory are Patient/[id]/$everything resources. Each Patient/[id]/$everything file is read. The set of files are parsed into a single OmopPerson object. The OmopPerson object is composed of Data Value Objects (DVOs) that are exact 1:1 mappings to the OMOP CDM. The OmopPerson object is then written to the OMOP CDM Database.
The PopulateOmopInstanceFromFhirFiles tool has a main method and can be called directly.
This tool can be run from the Standalone Application using the "download" or "d" option:
fhir-to-omop upload
fhir-to-omop u
Prerequisites
Before running the upload tool you will need the following- An app.properties file with the information described below
- A running instance of Microsoft Sql Server you are able to connect to that has been initialized using the fhir-to-omop Instant OMOP Tool
- A set of FHIR Patients in the format created by the fhir-to-omop Download Tool
- Java
The app.properties File
The following shows the settings in the app.properties file used for this example. A complete app.properties file can be downloaded from here.# --- # UPLOAD STUFF # --- # dir where your fhir patients live (this will be used to populate your omop instance downloadOutputDir=D:\\NACHC\\SYNTHEA\\TEST\\patients-test maxNumberOfWorkersForUpload=20 maxNumberOfThreadsForUpload=20 maxNumberOfConnectionsForUpload=20 conceptCacheSize=1000000
These parameters are used as follows
-
downloadOutputDir
This is the directory where the FHIR Patient/[ID]/$everything files live -
maxNumberOfWorkersForUpload
The upload tool uses a constant number of workers to maintain a constant rate of activity. Each worker has a number of threads. Each thread uploads a single patient. -
maxNumberOfThreadsForUpload
The number of threads to assign to each worker. Each thread will upload a single patient. -
conceptCacheSize
The upload tool maps the concepts provided by the FHIR resource to OMOP concepts. The FHIR system and code values are used to get a concept, and the (OMOP) concept.concept_id is used to populate the OMOP records. This variable limits the size of that cache.
Running the Application
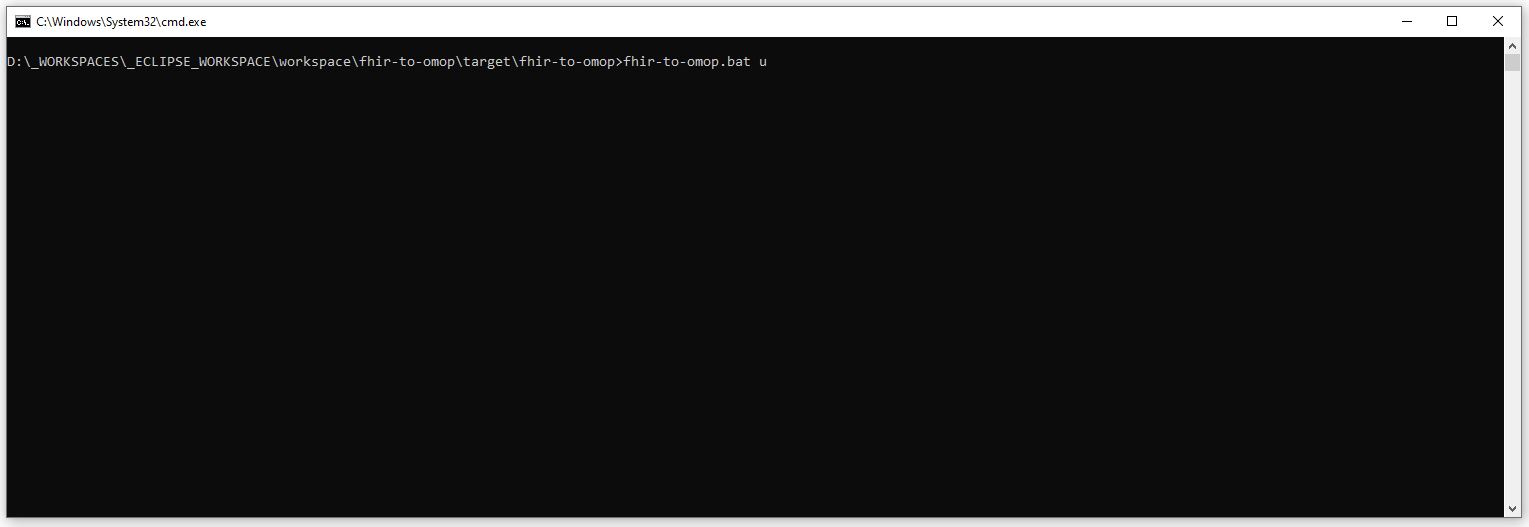
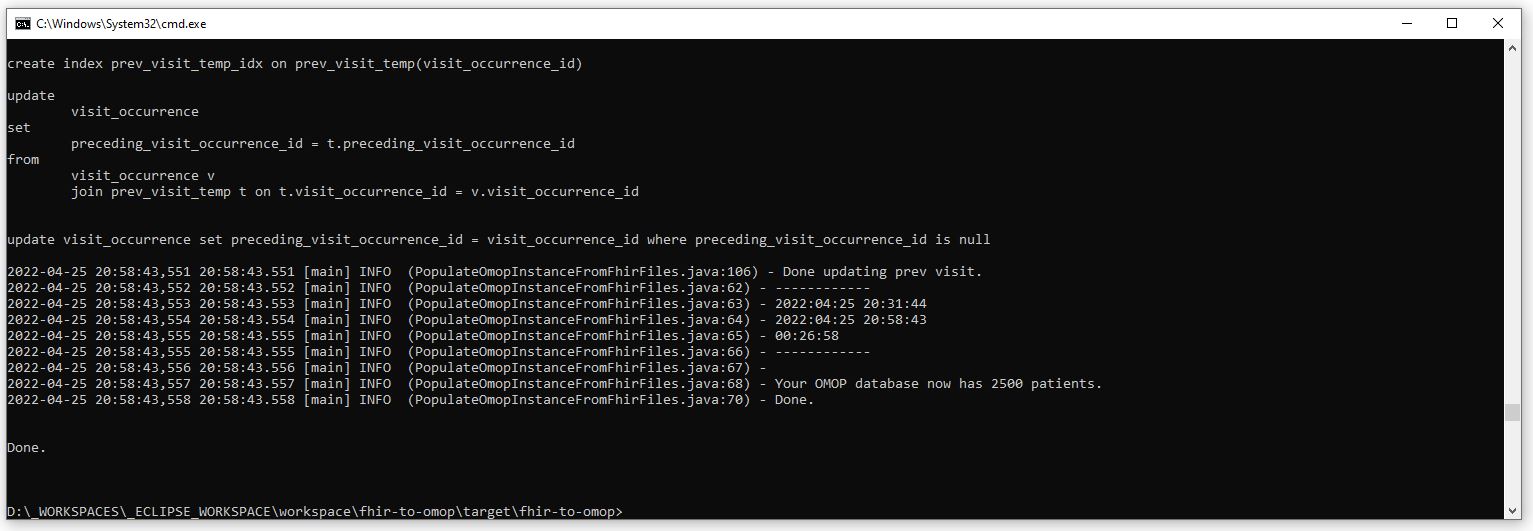
The Upload Tool can be run from the Standalone application as shown below by entering the command shown below. The second screen shot shows what the application should look like when it has finished.
fhir-to-omop.bat u
Results
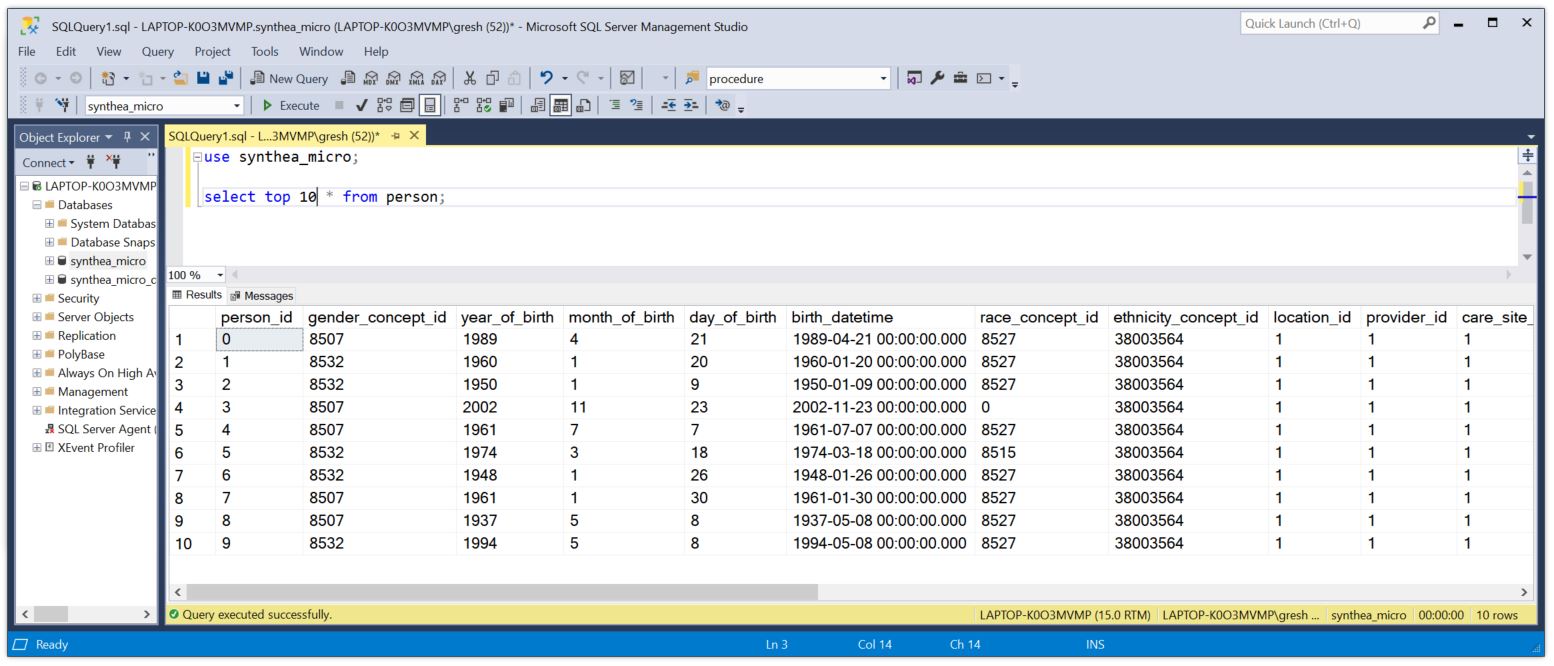
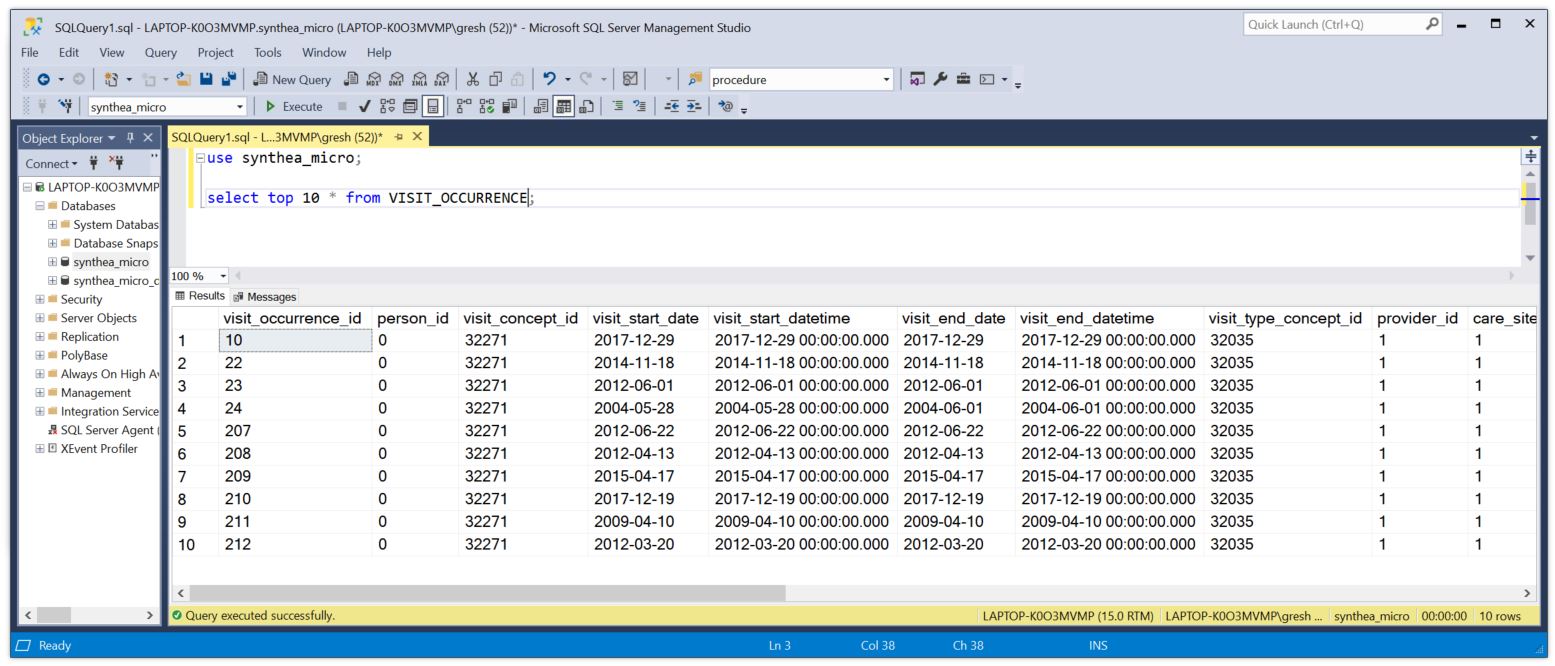
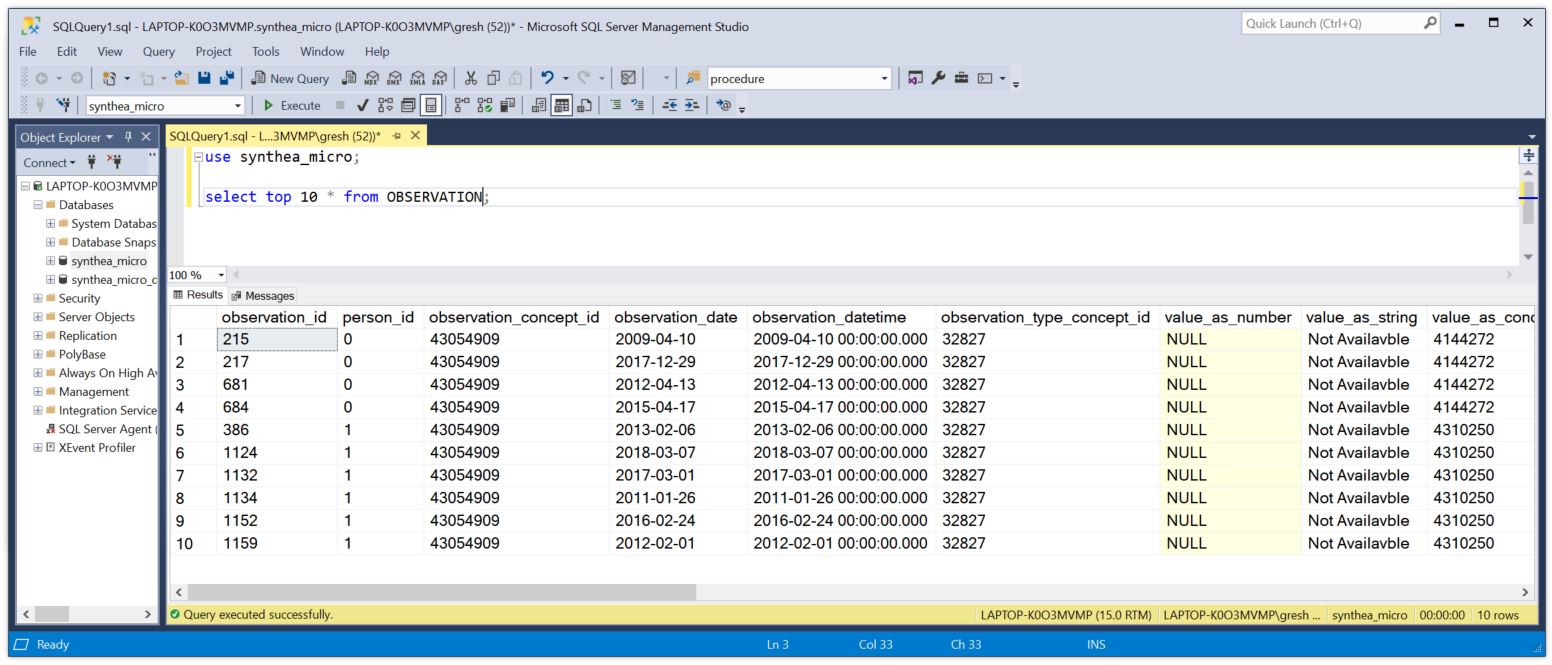
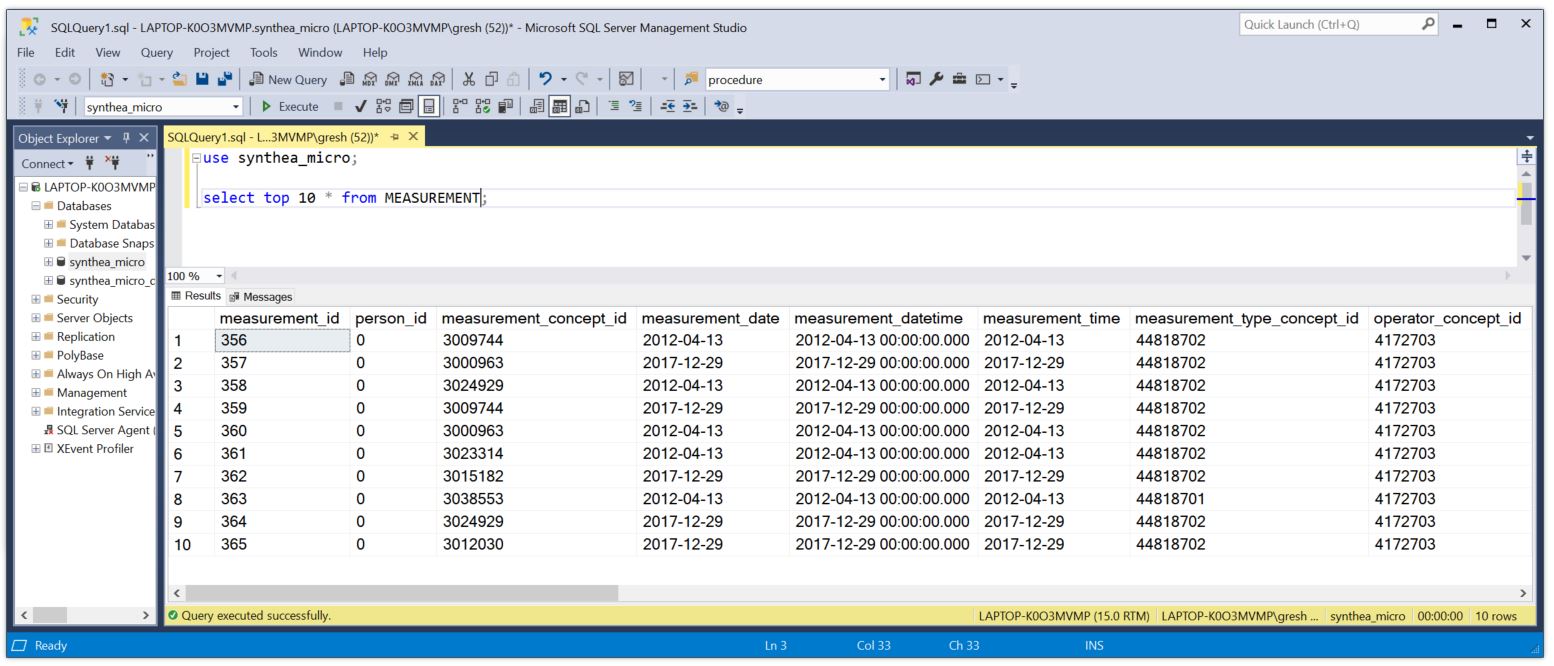
Congratulations! Your OMOP instance should now be populated with your FHIR Patients. You should be able to browse the OMOP database and use the OHDSI tools to browse, analyze, and otherwise use your data.
