Git and Github Quickstart Guide
This is the quick start guid for Git and Git hub. Git is a version control system that is used by virtually all open source (and other large) projects. This quick start guide shows how to download and install a Git client, how to create a Github account, and how to get permissions for an existing Github project (like this one!).Summary
The following steps are detail below. Here's a summary of the process.- Install a Git Client
- Create a Github Account
- Contact the Repository Owner and Request to be A Collaborator
- Follow the instructions in the response from the repository owner
- Fork and Branch
- Clone the project
- Make your updates
- Commit your updates
Install a Git Client
Instructions for installing a Git client are here .Create a Github Account
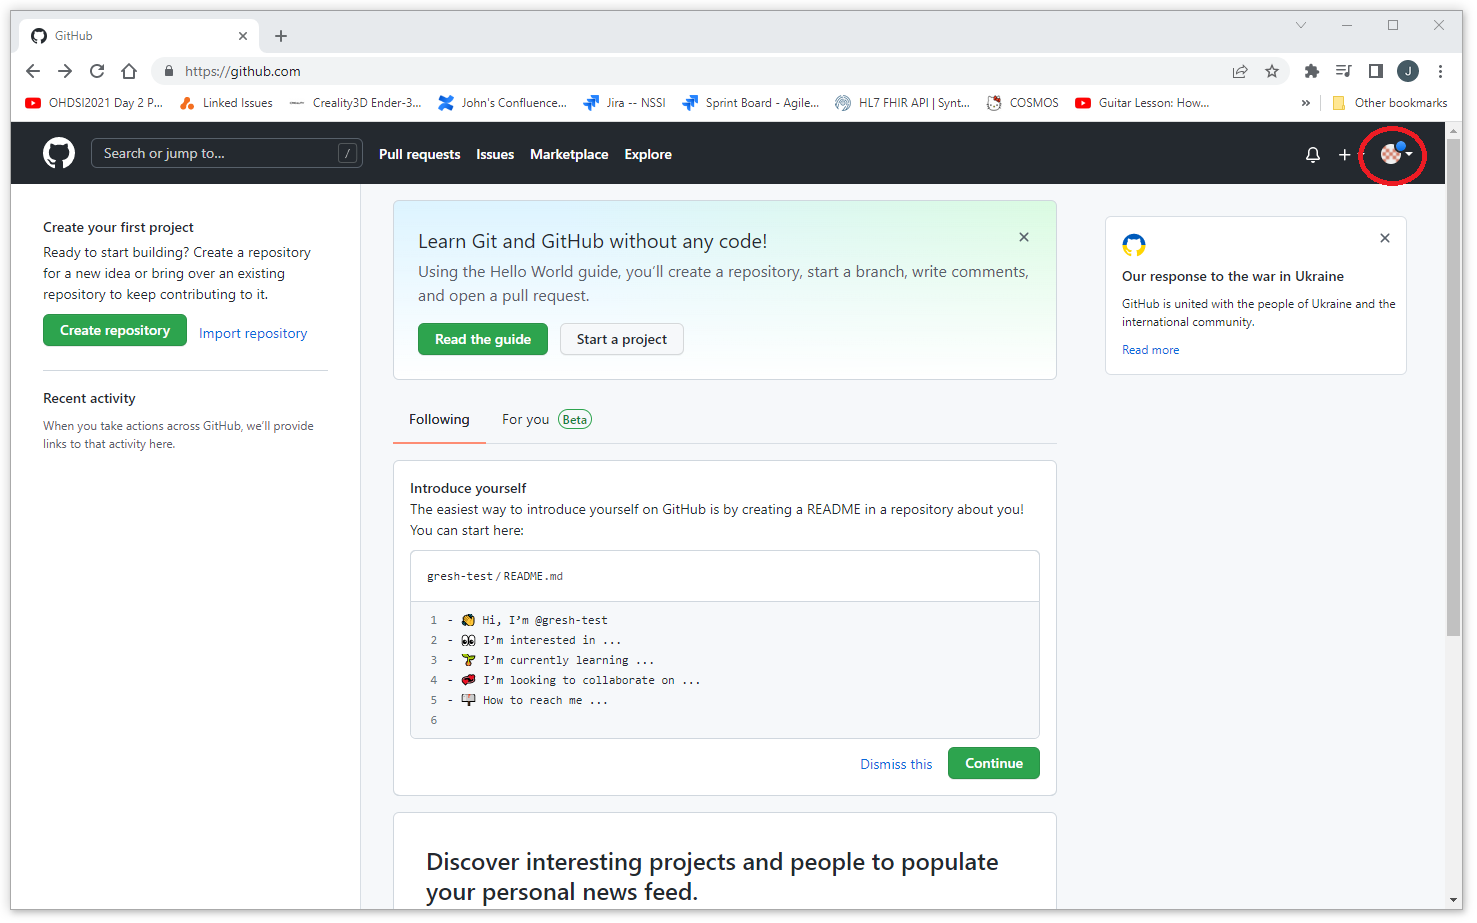
Go to https://github.com/ and select "Sign Up". Follow the instructions there to create your Github account.
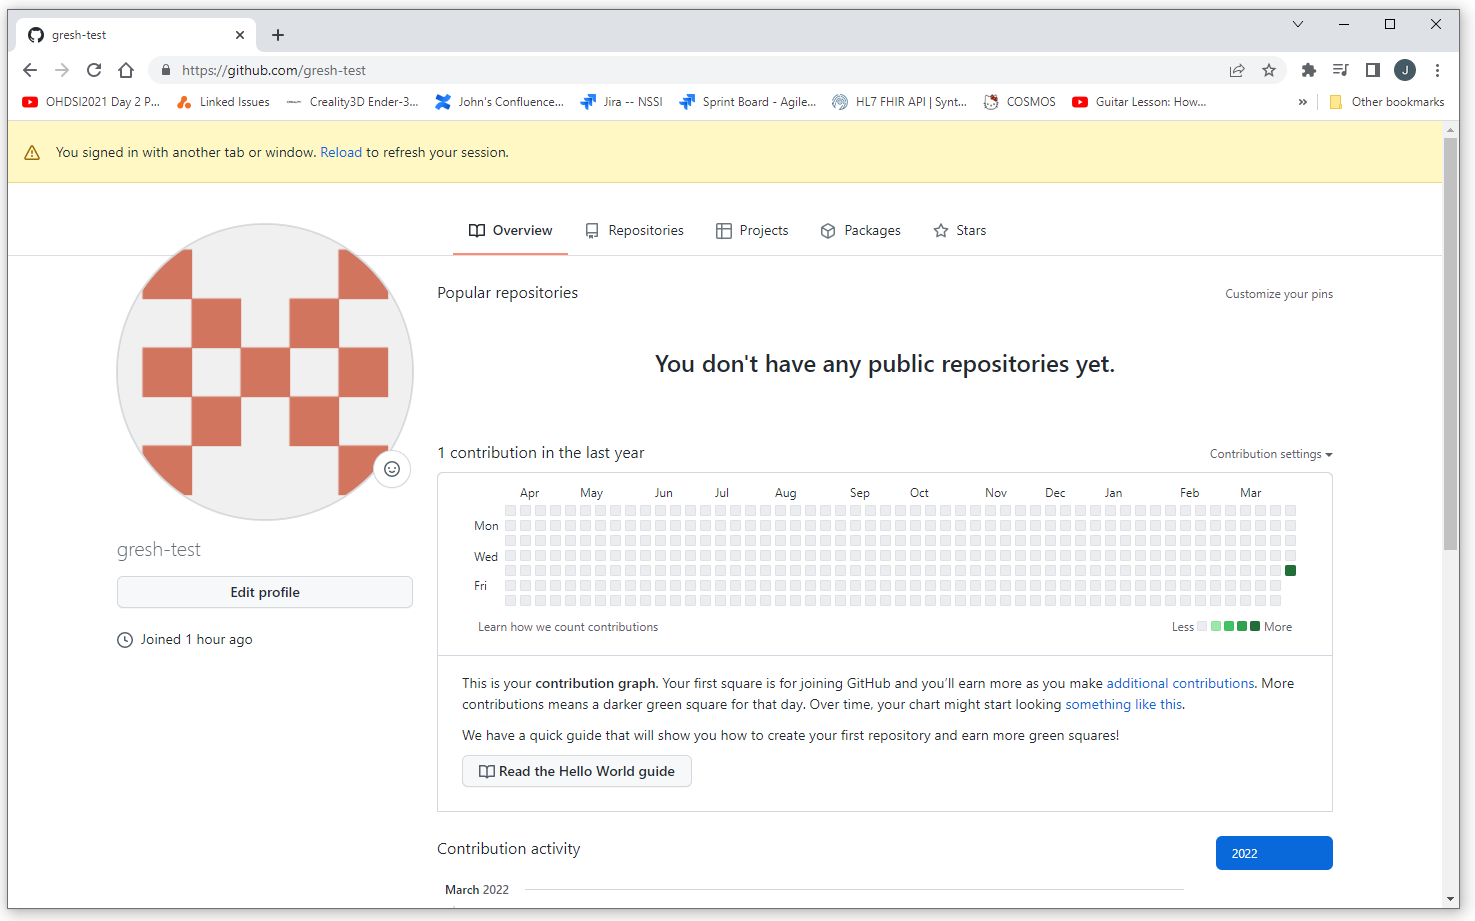
Once you've created your account you can check your user name by selecting the icon in the upper right corner and then selecting "Your Profile" (select the link at the bottom of the screen to skip the tutorial first). Your user name should be on the left side of the screen.
Contact the administration of the Github repository you need access to and include this username in the message (in this example the username would be "gresh-test"). The administration can add you to the project and you should receive a confirmation email. Follow the instructions in the email.


Email from Github Site Administrator
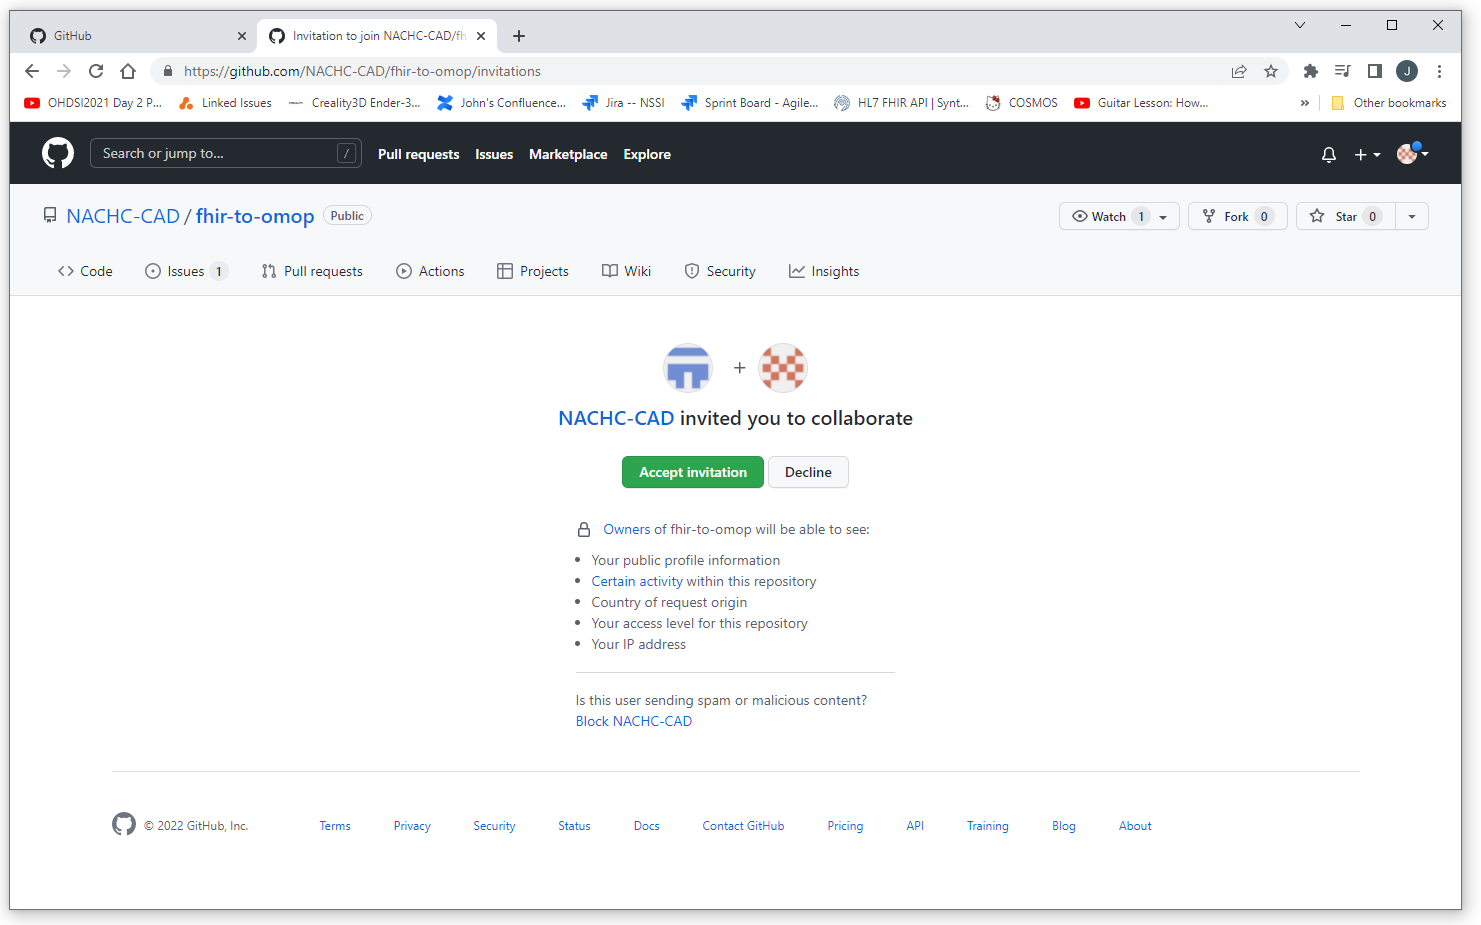
The email you receive from the site administrator should look something like the following.
Accept the invitation
Click on the link in the email and accept the invitation.
Clone the Repository
"Cloning" the repository just means pulling a copy of the files down to your local machine in a way that any changes you make can be merged back into the repository.
After you've accepted the invitation you will be sent to the home page of the repository. Copy the url.

You'll want to follow the repository owners instructions for forking and branching, but for now, lets just look at the case of working directly on the main branch of the existing (unforked) repository (which you should never do... ever).
Open a cmd prompt and navigate to the directory where you would like the project to live.
After you've install the client you will need to issue the following two commands (this is usually a one time thing).
git config --global user.email "the-email-you-registered-withc@yourhost.com"
git config --global user.name "YOUR_USERNAME"
To clone the repository, enter the command:
git clone <paste-repository-name-here>

Make Your Updates and Commit
Change to the directory that was downloaded from the clone process. Make your updates to the files. When you are done with your updates, commit the changes using the following Git commands.git add -A
git commit -m "a very useful and meaningful message"
git push origin